Showing posts with label Sewing. Show all posts

Sunday, 6 July 2014

Homemade Elsa

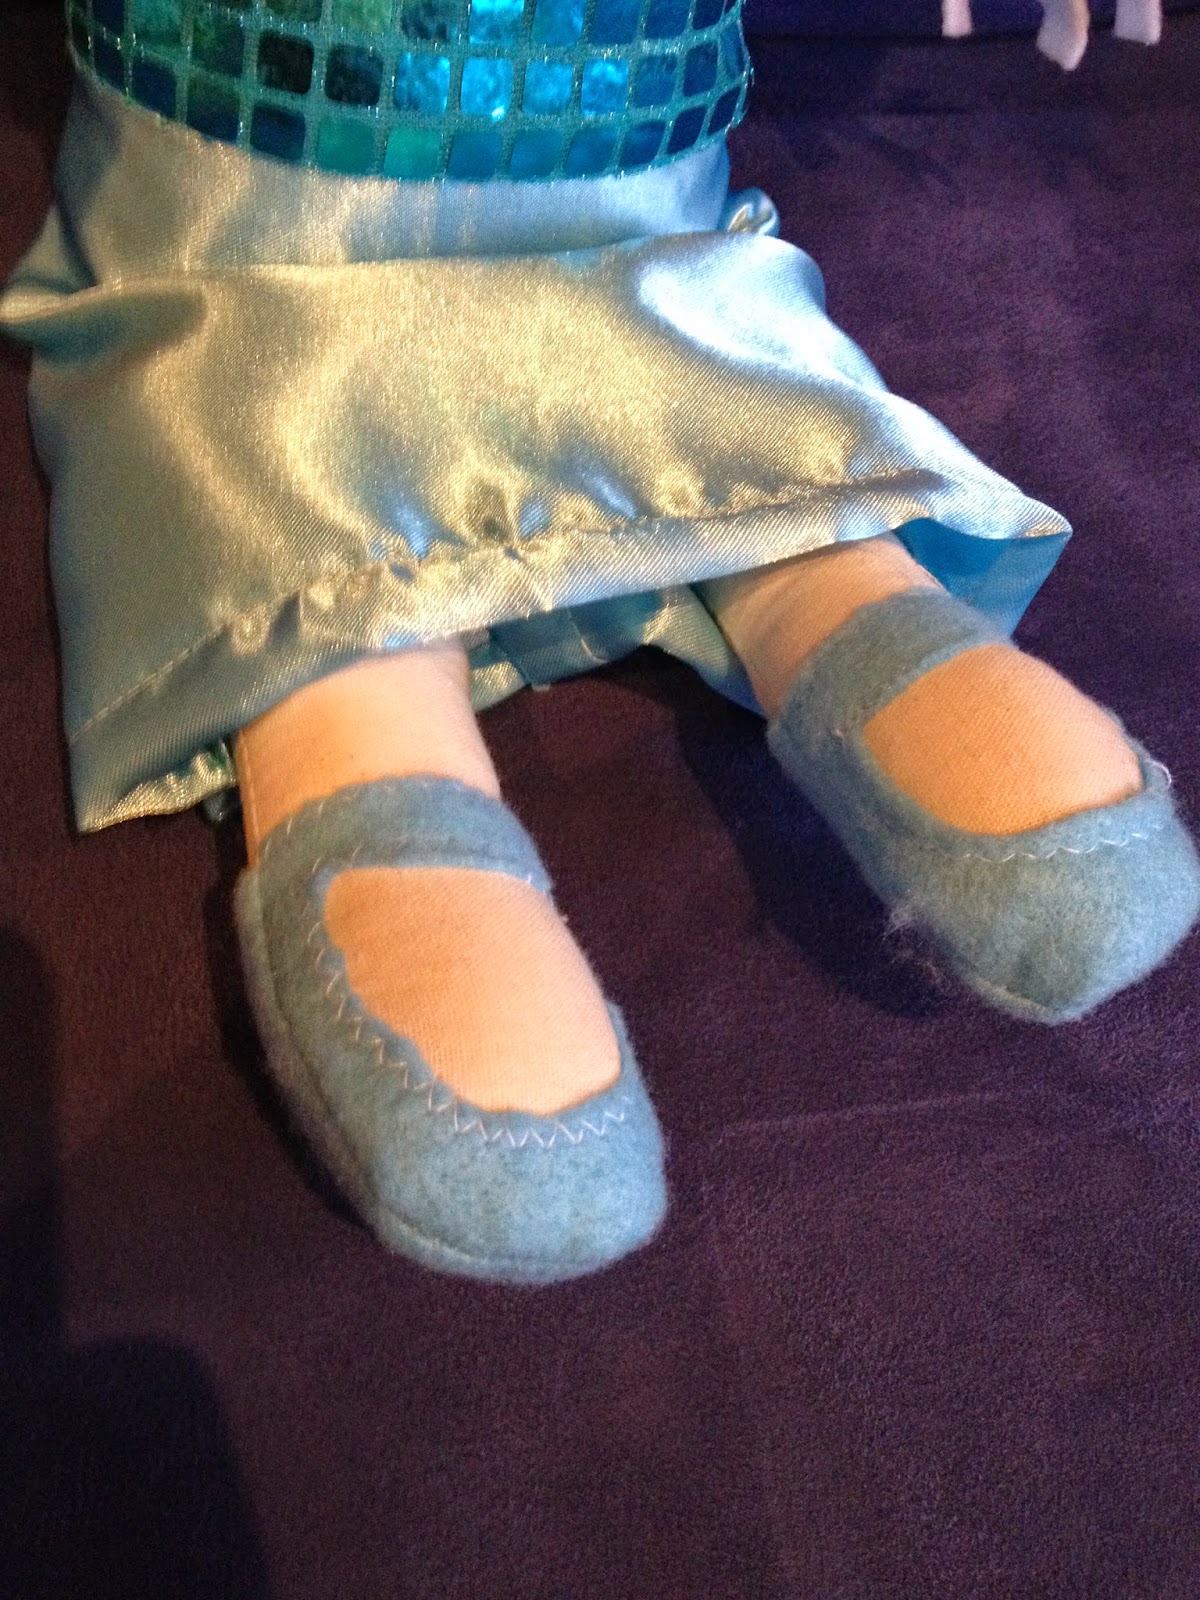
Chloe had a pyjama party to go to on the last day of school. So I thought I'd make another Betty Doll for a gift. But this time I made her into Elsa. Clearly the best idea ever ;) I even got a text message from the girl's mum saying how much she liked it.

Snowflakes in her hair.
I drew the face on with sharpies, little crooked, but it's homemade so you get that!
I think she turned out pretty well. Now I have to make Elsa dresses for Chloe and Eva's dolls...

Saturday, 10 May 2014

Here I Stand and Here I'll Stay!!!

Stay this beauty will, I am rather impressed with myself on this one! A OOAK kid friendly Elsa dress!! Now all that's left is to make one for Eva....and a baby friendly one for Lyra!


Friday, 16 August 2013

Rainbow Quilt.

Chloe's teacher is having a baby. She ended up finishing at the end of last term even though she isn't due until September because she, unfortunately, has had some problems. Baby is all healthy and growing nicely though :)

So I thought I would make her a quilt for bub. She isn't finding out the sex, so I thought rainbow colours would be perfect. I went with a chevron pattern, it's my favourite one to make!


I put  strip of rainbow onto the back as well to make it big enough. It breaks up the blue nicely I think :)

I am really, really not very good at making quilts :/ BUT I really, really enjoy it! So what they lack in workmanship, they make up for in love and joy!

I very nearly kept this one for myself, I just LOVE rainbow colours!!


Saturday, 18 May 2013

Betty Doll

Chloe has been to a lot of birthday parties lately. And by a lot I mean 6 in 4 weeks. Some were double whammies, two parties in one day. Exhausting.
When the first birthday party of the year came round, it was for a little girl. I asked Chloe what she wanted to give as a gift.
"Ummmmm.... I want you to make a doll Mummy."
So a doll it was.
I've tried a few doll patterns over the years.
The first one I tried was the black apple doll on the Martha Stewart website. I made a few as gifts for others as well as one for Chloe. It was a great pattern, but I wanted something a little bigger. So I decided to draft myself up a pattern. Very rough but thought I'd give it a go.
Well it was perfect! I even hand sewed on each individual strand of yarn hair!


Each doll I've done I've changed her hair. Now I use felt and just change the style depending on the child I'm giving it to. Her facial features have also developed. I am terrible at embroidery so now I draw the faces on with sharpies. I can get much more detail into them now.

I don't know where that name came from "Betty Doll". But for some reason it seems to suit her. I've made a few of these now... I think I'm up to number 6?
So I've scanned a copy of the pattern I made for you to use! It's very rough, and doesn't include seam allowance. You don't have to add a seam allowance, it just means that your doll will be a little smaller. The bigger the seam allowance, the bigger the doll!

I don't have any step by step pictures, but I'll try to explain best I can!

Cut out the pattern pieces. I used some calico, but you can use anything you want.

Get 2 pieces of felt and cut out a design for the hair using the head piece as a template, it can be a bob, pigtails, bun etc.

Cut out where the face will be on one piece of the felt. Have a look at some of the dolls I've made to get an idea of what I mean!

Attach the hair to the face, along the neckline on the back and around the fringe on the front. The cotton needs to be the same colour as the felt as you will be able to see this.

Attach the head pieces to the body pieces.

Take 2 arm pieces, sew together and turn right side out. Repeat with the other two arm pieces.

Do the same with the leg pieces.

Stuff the arms and legs with polyfill.

Pin the arms sandwiched between the body pieces.

Leaving a gap at the bottom, sew around the body pieces and hair making sure to not catch the arms in any side seams except where you are attaching them.

Turn right side out.

You should now have an empty doll with arms (stuffed) but no legs.

Stuff the hair and body.

Pin the legs to the bottom of the doll, turning the raw edge of the gap in as you pin.

Carefully sew up the hole in the bottom with the legs in place. I managed to squeeze it through my machine, but you can hand sew this gap if you prefer.

Draw or sew on a face.

Make your doll some clothes!

Done! Clear as mud?? Hope so! This is my first go, so if you have any questions (which I'm sure you will, what with the awesome instructions :/) please don't hesitate to ask!!


Saturday, 13 April 2013

Strawberry Fields Dress (geez I'm original...)

This is the next thing I made up in my winter sewing. I did up a little long sleeve peasant dress in a thick cotton drill that I picked up as a remnant for $2!

I used another tutorial from Prudent Baby for this one. The instructions said it was a 2T and it fits my almost 3 year old perfectly. She's super skinny but also really tall so I did lengthen it a bit. I've made A LOT of peasant tops/dresses and the measurements on this were just right! I always have to do a fair bit of faffing (is that a word?) with the widths and lengths but this one was so good!

I really love peasant style tops and dresses. They are perfect for little girls, really easy to wear. I think they are really worth the fiddling around!

Still one more thing that I've done for Eva's winter wardrobe, I just need to get some decent shots of her in it.....

Tuesday, 2 April 2013

Princess Peplum

This is the next of my "head start sewing'!
I am so in love with this fabric! I found a couple of fat quarters of Lizzy House Castle Peeps at Big W (I know! crazy!) a while ago. I had no idea what I was going to do with it, especially as they were fat quarters. So into my (extensive) fat quarter stash they went.


Then I came across this tutorial over at Max California, and fell in love! So I drafted my own top in a similar way to Max. The Peplum isn't at fluffy and the sleeves just came out as sleeveless but I still kinda love it!

I lined it in a pale yellow and white stripe. I'm yet to perfect my lined work. I'm slowly getting better though! Practice, practice, practice! Not to mention my gathering :/


I'm totally loving the huge buttons on the back. I'm thinking it will be great from now through winter with a long sleeve tee, leggings and boots. Then through to spring again with a pair of shorts!

Will Eva go for it? Coz it is a dress...right??

Winter Wardrobe Part 1

My youngest loves dresses. She also likes skirts, and she likes pink. If you pick out her clothes for the day and the outfit isn't all of those things she. is. not. happy. So I thought I'd get a head start on sewing up some long sleeve dresses in more winter friendly fabrics so as to avoid arguments in the coming cooler months.(not that we need it 33C today! sheesh!)


This is the first of my head start sewing!! I grabbed a couple of cheap fleecy sweaters to make a sweater dress using the tutorial over at Prudent Baby. I changed it up a bit using kid sized sweaters instead of an oversize adult one.
Then I used some polar fleece for the pockets. It turned out pretty cute, but was missing something. So I used a heart foam sticker stamp (a foam sticker stuck to a milk bottle lid) and some fabric paint to print a design across the top part of the dress. After I made this one the ladies at Prudent Baby also put up a tutorial specifically to make these for kids!

Because I'd made one for my eldest too I decided to make some track pants with the leftover sleeves and some scrap jersey fabric I had. Hopefully I can convince her to wear them when it's really cold :/

Have you done any sewing or buying for winter yet? The weather Australia wide doesn't seem to know what it's doing at the moment though!


Tuesday, 29 January 2013

Quilty, Quilty, Quilt. Now the word sounds weird.

So I'm in the midst of a chevron quilt for my youngest right now. I totally suck at quilting but for some reason I still really enjoy it! I guess it's that thrill of turning little squares into awesome patterns with nothing but thread...or something like that anyway.

I've used a mix of "sherbet pips" and "the simple life" by Riley Blake. Also a few bits of what I had on hand as I didn't quite have enough of certain colours to get my pattern right :) my daughters room has a blue, pink and red palette and it took me awhile to find a line with just the right colours. I'm even going to be brave and try hand quilting this one!!! Not a fan of wrestling it through the machine!

My husband is still in the process of fixing our computer so excuse the iPhone photos! I'll post more when I finish too!

P.S. I haven't figured out how to put my photos IN the text yet...sorry :/